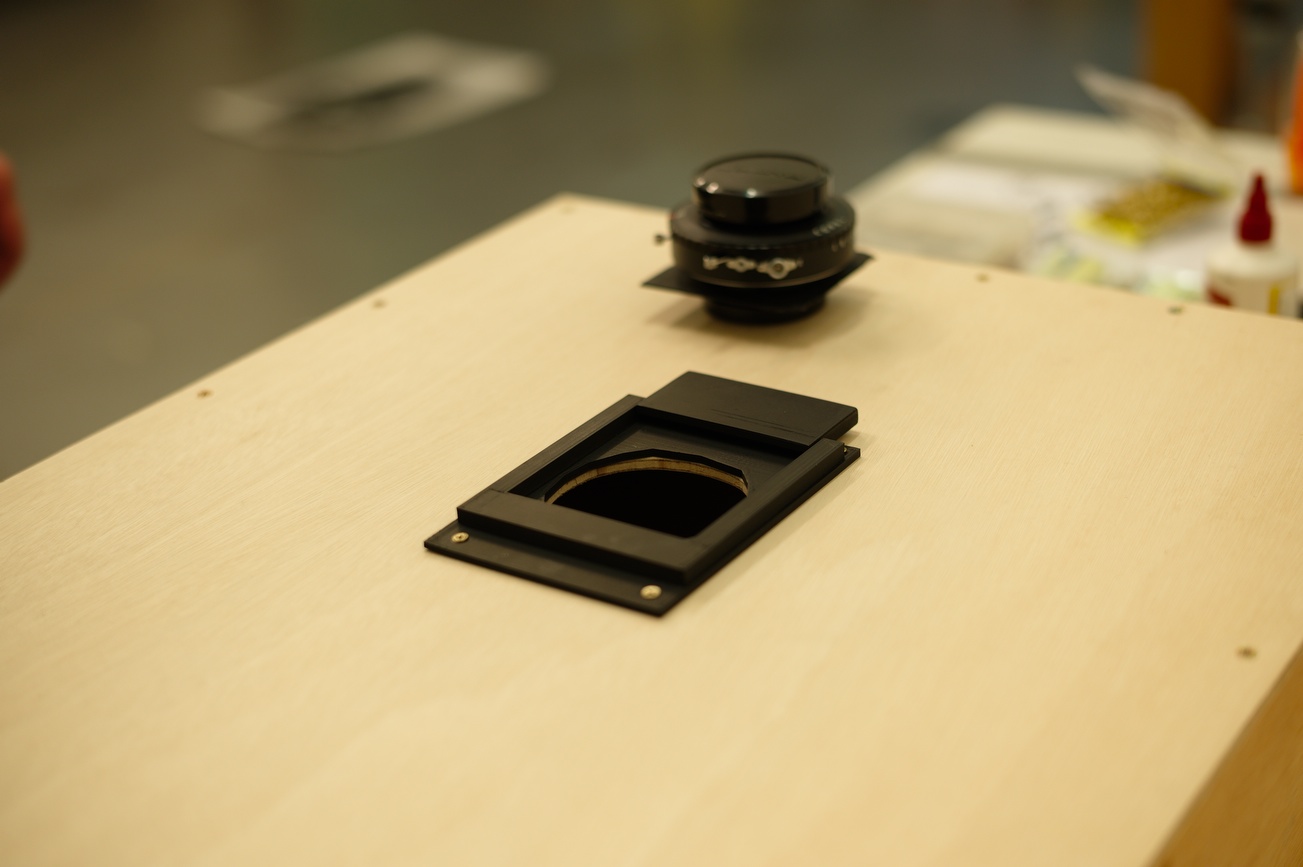
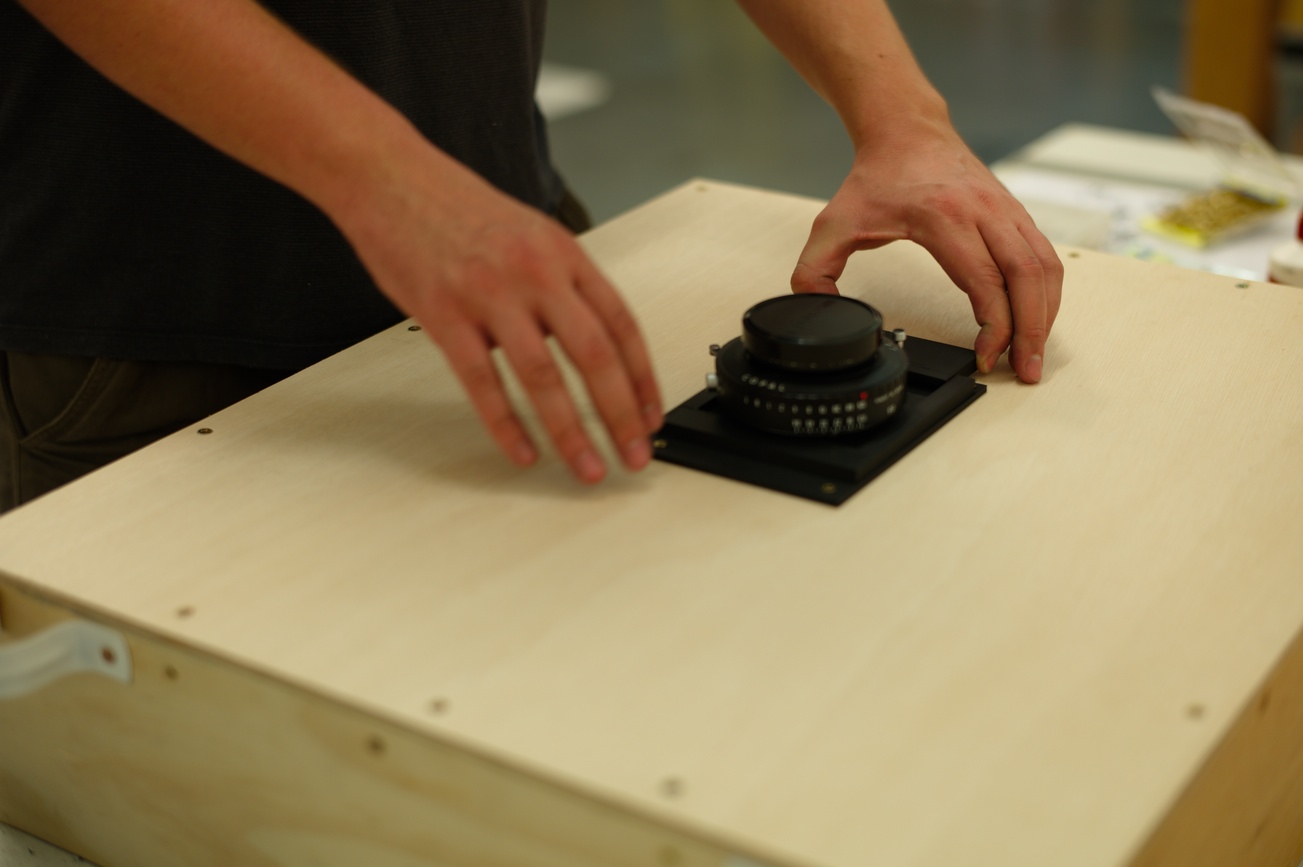
We’re making good progress on our 20×24 camera. We’re reaching the final stages as we put together our focusing screen (clear perspex with a frosted film), made up a lens mount and attached it to the front face, and trimmed down our bellows slightly to allow better movement. Piotr designed both the lens mount and the cam locks for the film holder in the computer using a 3d program called Modo, then printed them out on his brand new 3d printer – a Makerbot Replicator 2. We gave a coat of matte black paint to the lens mount, added some felt to trap any stray light and it was ready to go.
See more in here.
Check out the photos below to see our progress;
Trimming the frosting on the perspex ‘ground glass’
Painting the lens mount. The lens mount was designed by Piotr, created in Modo (a 3d program) and 3d printed using a Makerbot Replicator 2.
Lens mount attached
Testing the fit of the lens mount.
Makerbot Replicator 2 creating a 3d print of our cam locks
Top cam locks in place (we’ll be adding another two later)
3d printed cam lock in place


